Monday, April 18, 2011

Great Garden Table

The front of my house was looking pretty scraggly.  I didn't realize how bad it looked at first, sometimes these little things seem to get past you.  But it was definetly in need of some attention, and I was ready to spruce things up a bit.

If you know me, you know I'm not going to spend money.  Why would I do that when theres nothing that a few hours of work and a few household freebies can't fix. 
I started by taking out the stepping stones and all of the plants except the citrus trees (which were too heavy to lift) and those in front of the trellises (which I wasn't planning on moving).  After I pulled the weeds that were starting to take over, I had a semi-blank slate.

To add some height and interest to the planting area I built a makeshift table under the window.  I brought over 2 cement blocks and placed a marble disk on top.  The marble was left over from a bathroom remodeling project and the cement blocks were salvaged from a relatives yard.


You can also add more visual interest to your garden by placing plants and pots of flowers on stacked bricks or cut logs.

What a difference a few changes can make. 

I couldn't pull out the greenery at the front of the beds.  Those belong to some bulbs that have finished blooming and the leaves need to be left on the bulbs to absorb the sunlight which in turn will feed the bulbs and produce next years flowers.
I guess it's time to relax on the front porch with a glass of wine and enjoy the view.  I'll be using the wine bottles for a couple of upcoming projects so I better get to work on gathering the supplies I need.
Be well and happy gardening!

Thursday, April 14, 2011

Seed Starting with Compost Energy

I'm all for renewable energy.  I don't want to get too "political" here.  This is a gardening blog.  But renewable energy beats fossil fuels in my book any day.  Today's project uses a renewable energy source you probably haven't heard of.  It's compost energy.  Trapping the warmth from the compost bin and reusing it as a heat source for starting seeds.  I've used this method for years to start many of the annuals in my garden.  You'll only need a few materials for this project. 
One very full compost bin
One box that fits snuggly inside the bin (or as closely as possible)
Potting soil
Seeds

It's important to start with a very full compost bin.  As the comtents of the bin decompose, the box will sink and if it isn't full to start with, you will be bending over to harvest your seedlings.
The compost bin I will be using isn't quite full, and I'm ready to get started, so I used some partially composted material from another bin.  I seem to be doing a lot of that lately.  I can't seem to keep up with my compost needs.

In the past my compost bin/seed sowing method has been for plant propagation purposes only.  Once the seedlings were large enough they were transplanted elsewhere in the garden.  But I had to wonder (with an eye towards getting double duty out of my bin) if you started with a deep enough box, and with lots of sun and water, could you get something to grow here for a season.  I probably should have started with something easy, like squash.  They grow out of the compost bin on their own.  But I wanted this to be a little more interesting, a bit more challenging.  How about corn?  I have a partial packet left over from planting "the three sisters" a few days ago.  Would some corn grow here?  Why not give it a try?
With the compost bin full I placed the box on top (flaps pulled out) and filled it with potting soil.  This box took about 1 1/2 bags (2 cubic feet each) of potting soil.  I got the soil wet and planted the seeds according to the package instructions.


I filled the holes with some additional soil, pressing the soil down to make a strong contact between the soil and the seeds.  I watered the box well and added a plant marker.


Remember to keep the box well watered.  The cardboard box will hold up for about 1 season, then it can be reused under a raised garden bed or recycled.  The compost and box were free, the seeds were left over, but I did have about $1.00 invested there, and the potting soil was $6.99 a bag or about $14.00 plus tax.  Keep in mind the soil will mix with the compost and can be reused in the future, so that cost comes down a bit. 
Check back.  I will be posting pictures of the box as the corn grows.
Be well and happy gardening!

Updated 04/28/2011
The corn is doing great.  Some of the seedlings are 2" tall.  The box has already sunk quite a bit.


05/20/2011
Follow up:
The corn didn't end up doing well.  The seedlings came up great, but something (birds?) gave me problems. 
The plants were shredded and some of the stems  were broken.


Only 3 seedlings left, probably about 6 inches tall.  I might start some annual flower seeds behind the struggling corn so that I am using the growing space.
In another compost bin I started a box of zinnia seeds with a few melons in the corners. 
The zinnia seedlings are getting big and are ready to be transplanted.  I will keep the melons in the box where they will continue to grow up and over the sides of the compost bin.
Watch for weekly follow up pics.

Monday, April 11, 2011

Growing Micro Greens Indoors

Southern California winters are fairly mild.  We rarely get a frost that wipes out the lingering summer tomatoes so we get some great salads through the winter months when our leafy greens are at their best.  We aren't nearly as lucky in the summer months. The greens in our garden were already bolting by early April, long before the June tomato explosion.   While theres are tons of "other" ways to use your summer tomatoes (caprese salad, bruscetta) I still enjoy the old standby green salad once in a while, and I've been working on ways to keep the greens growing.  I recently read in an Organic Gardening magazine that you can enjoy micro greens grown inside under grow lights or in a sunny window.  I decided to give it a try using some common household products.  The only items I used were:
Plastic shoeboxes
Paper towels
Rocks (small) for drainage
Potting soil
Seeds
Plastic dry cleaning bags 

Soil drainage is important but I didn't want to drill holes in the boxes.  You never know what these boxes will be in their next life.  I layed down a layer of paper towels to absorb excess moisutre and covered it with a layer of rocks.


I filled the box with potting soil to about 1" from the top.  I planted my seeds:
Baby Mesclun Lettuce - Cut and come againn
Monet's garden mesclun
Baby leaf spinach - Catalina
All my seeds are Renee's Garden seeds.

I reused a dry cleaner bag as a cover for the boxes.  This will hold in the moisture while the seeds are germinating.

The boxes were placed under grow lights, but a sunny window would also work fine.

Once the seeds germinate I will transfer a few of the seedlings to a partly sunny/partly shady area of the garden.  The other seeds will be left in the box to grow.  The plants will be harvested quickly, when they are just an inch or two high.  Since the plants are harvested young, you probably won't need to fertilize them.  Just clip off the leaves to enjoy your favorite salad.  The clipped plants probably won't regrow, but the boxes can be replanted with another crop, or the soil can be composted and the boxes reused for another project.
Thanks to Organic Gardening Magazine for the idea and directions for this project, and for never failing to inspire me to be a better gardener and  steward of the planet.
Be well and happy gardening!

Follow-up
This is a picture of one of the micro green boxes "Cut and come again" baby mesclun lettuce.
The Catalina spinach has also germinated well.

The Monet mix didn't sprout at all prompting me to wonder if I put seeds in the box at all.  I just might have missed a step.

Update on 04/28/2011
My seedlings are about 2" tall and could be transplanted now or allowed to grow a bit more and enjoyed in a salad.


05/20/2011
Follow up:
The lettuce is doing well.  I have pinched off some leaves for salads as well as transplanted a bit of it in the garden.

Here's to keeping the greens growing. 


Saturday, April 9, 2011

Plastic Plant Marker

What's a quick and easy way to reuse the plastic card holders that come in floral arrangements?
Use them as plant markers, of course!
Just push them into the soil and insert the label into the prongs of the holder.
It doesn't get much easier or quicker than that.
Be well and happy gardening!

Terra Cotta Plant Markers

Don't throw away your broken terra cotta pots.  The larger pots can still be used as containers and the larger pieces can be used in your raised beds. I will be blogging more about those tips in some future posts.
Small pieces can be used as plant markers.  The only other items needed are wire coat hangers,  permanent marker, gloves, and some strong wire cutters, if you have them.
Start by unwinding the top of the hanger.  Fold the hanger in half and cut the hanger to make 2 equal size pieces.  If you don't have any cutters, just bend the wire back and forth until it breaks.

Straighten out each of the pieces as much as possible.  One end is going to be underneath the soil, so things don't have to be perfect. 
I've tried 2 different methods of making the  markers and each was equally easy.  The first method is to twist the wire in a squiggle and insert a piece of terra cotta into the free formed holder, the second way is to grasp the terra cotta piece and wrap the wire around it.  Write the plants name on the terra cotta piece and place the marker in you garden. 

Each marker is unique and adds a rustic accent to the garden.
My garden bed is planted, the rows are marked with the new markers, the bed was fertilized using the empty planters I buried in the soil, and we are well on our way to a summer harvest.
Be well and happy gardening!   


Starting my Summer Beds

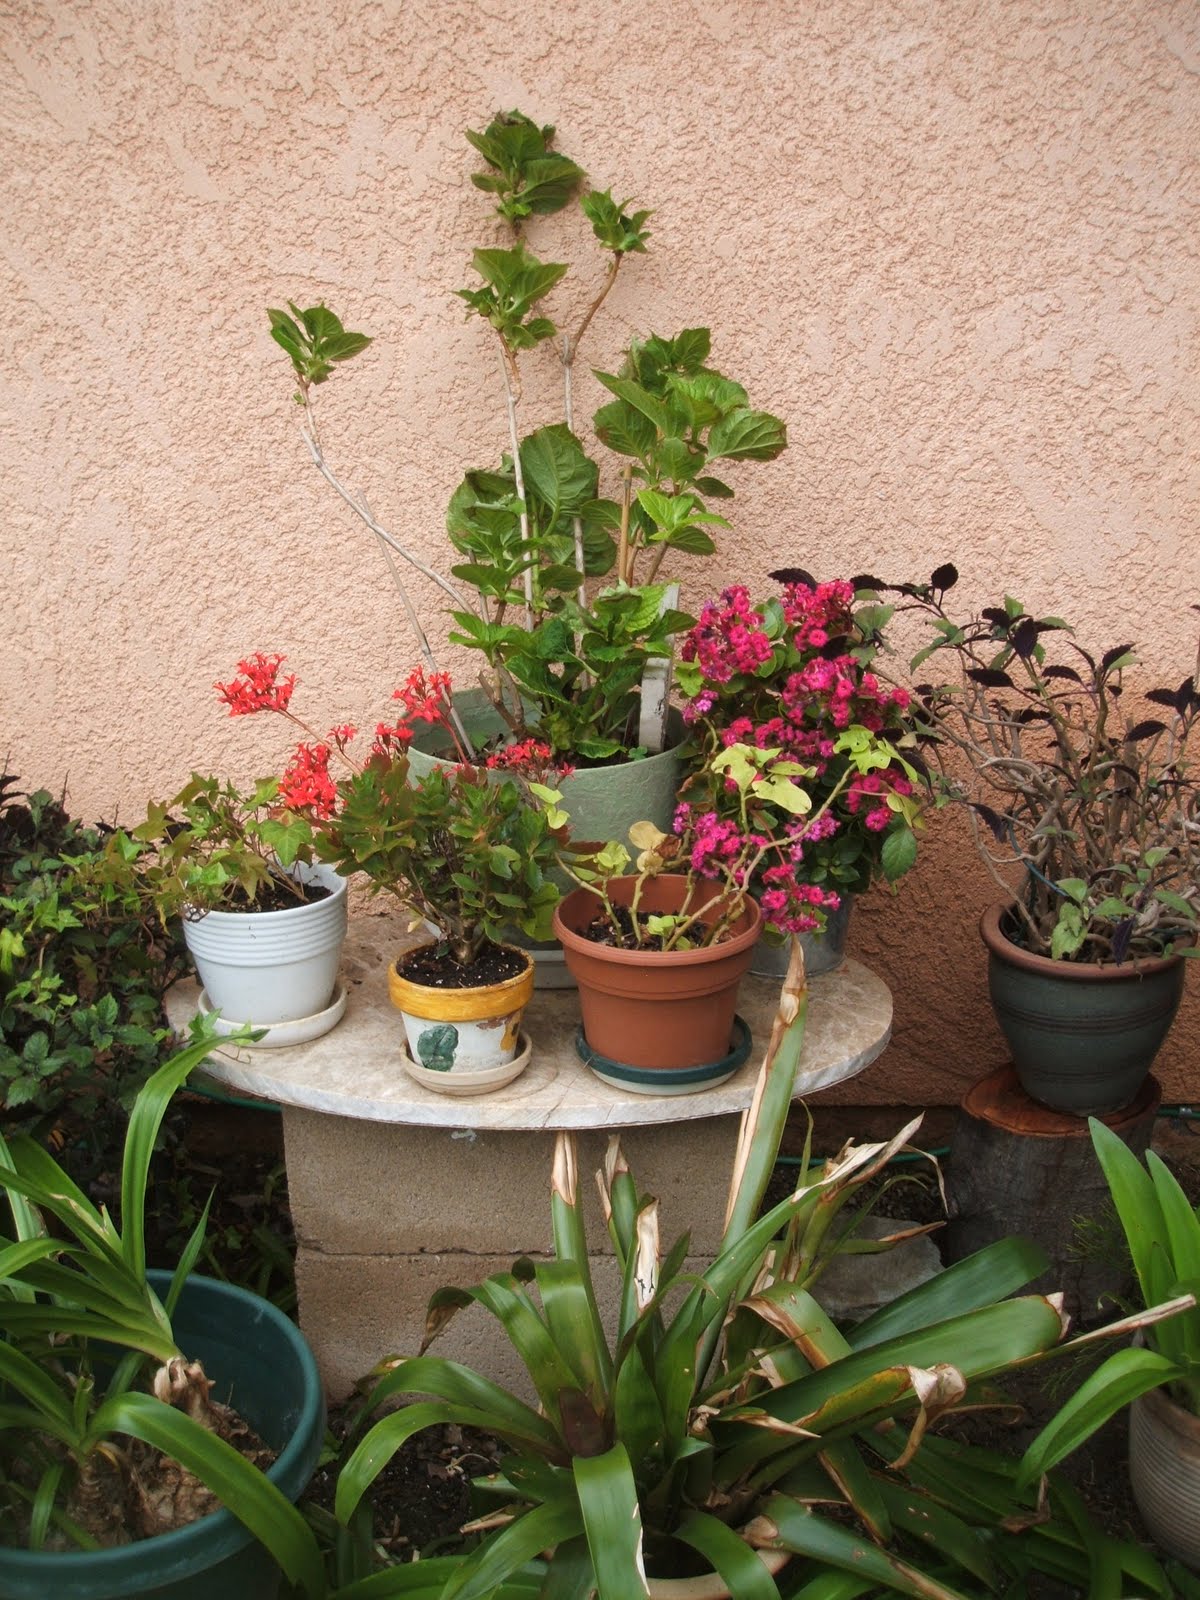
I have a little free time (2 days off work), a lotta help (my husband) and an 8x4 foot garden bed that's been cleared of last seasons crops.  My project is to amend, fill with soil and plant the bed for as little cost as possible, and I will be throwing in a few of the frugal garden tips I've been waiting to pass along.  I'm almost out of compost, and the little bit I have isn't ready yet so I have to supplement by buying bags of potting soil.  The best price I could find is $6.99 for 2 cubic feet.  I figure it will take me about 5 bags when all is said and done, so the cost will be about $35.00 plus tax.  I also picked up fresh seeds, 2 types of carrots (French Bolero and King Midas), Beets (Jewel mix) and Corn (Bon Jour).  This added another $8.00 plus tax to the total.  I will be adding Spaghetti squash and black beans to the mix, but those seeds were harvested from my yard last year so I get a few freebies. While I realize $43.00 plus tax isn't cheap, it's a small price to pay for local, organic produce.
The bed was filled with roots from some of the prior crops, and we worked through it to pull out as much of it as possible.  This is hard work, but when shared with a partner, it's not half as bad.

When most of the roots were cleared away we made trenches in the soil and buried the partially composted materials that I had on hand.

We topped everything off with the 5 bags of potting soil.  A sixth bag would have been better, but erring on the side of frugal, I only bought 5 so we had no choice but to stop there. 
I carefully "planted" 2 empty 1 gallon pots and 4-4" pots into the raised bed.  Why would someone do that you might ask?  Let me tell you why.  When I water I'm able to get a little extra moisture to the roots of the plants, and when I add fertilizer, compost or worm castings to the pots the nutrients slowly leech into the soil,  feeding and watering the roots of my plants at the same time.

I used an old broom stick and a tape measure to figure my layout, spacing plants far enough apart that they won't have to compete with their neighbor for food & water.  I have to plan carefully If I want to get the most out of this tiny space.
I started by planting 2 rows of carrots and a row of beets.  I finished with "The 3 Sisters", 2 rows of corn interplanted with beans (that climb up the corn) and 4 hills of squash (which crawl across the bed and shades the soil).  The squash tends to sprawl quite a bit, and usually ends up on the lawn at some point.
A few pieces of chicken wire placed directly on the bed helps to keep out cats that might be looking for a littler box spot.  Making sure the bed stays damp will also help to keep out the kitties, and the water works double duty since constant moisture is important to success with seed germination.  Once the plants get bigger the cats won't bother them as much, so I'll can move the wire to another area.
I've planted a lot of produce in a small space.  I can't wait to show it off and share the bounty.
Be well and happy gardening!

05/19/11
Follow up:
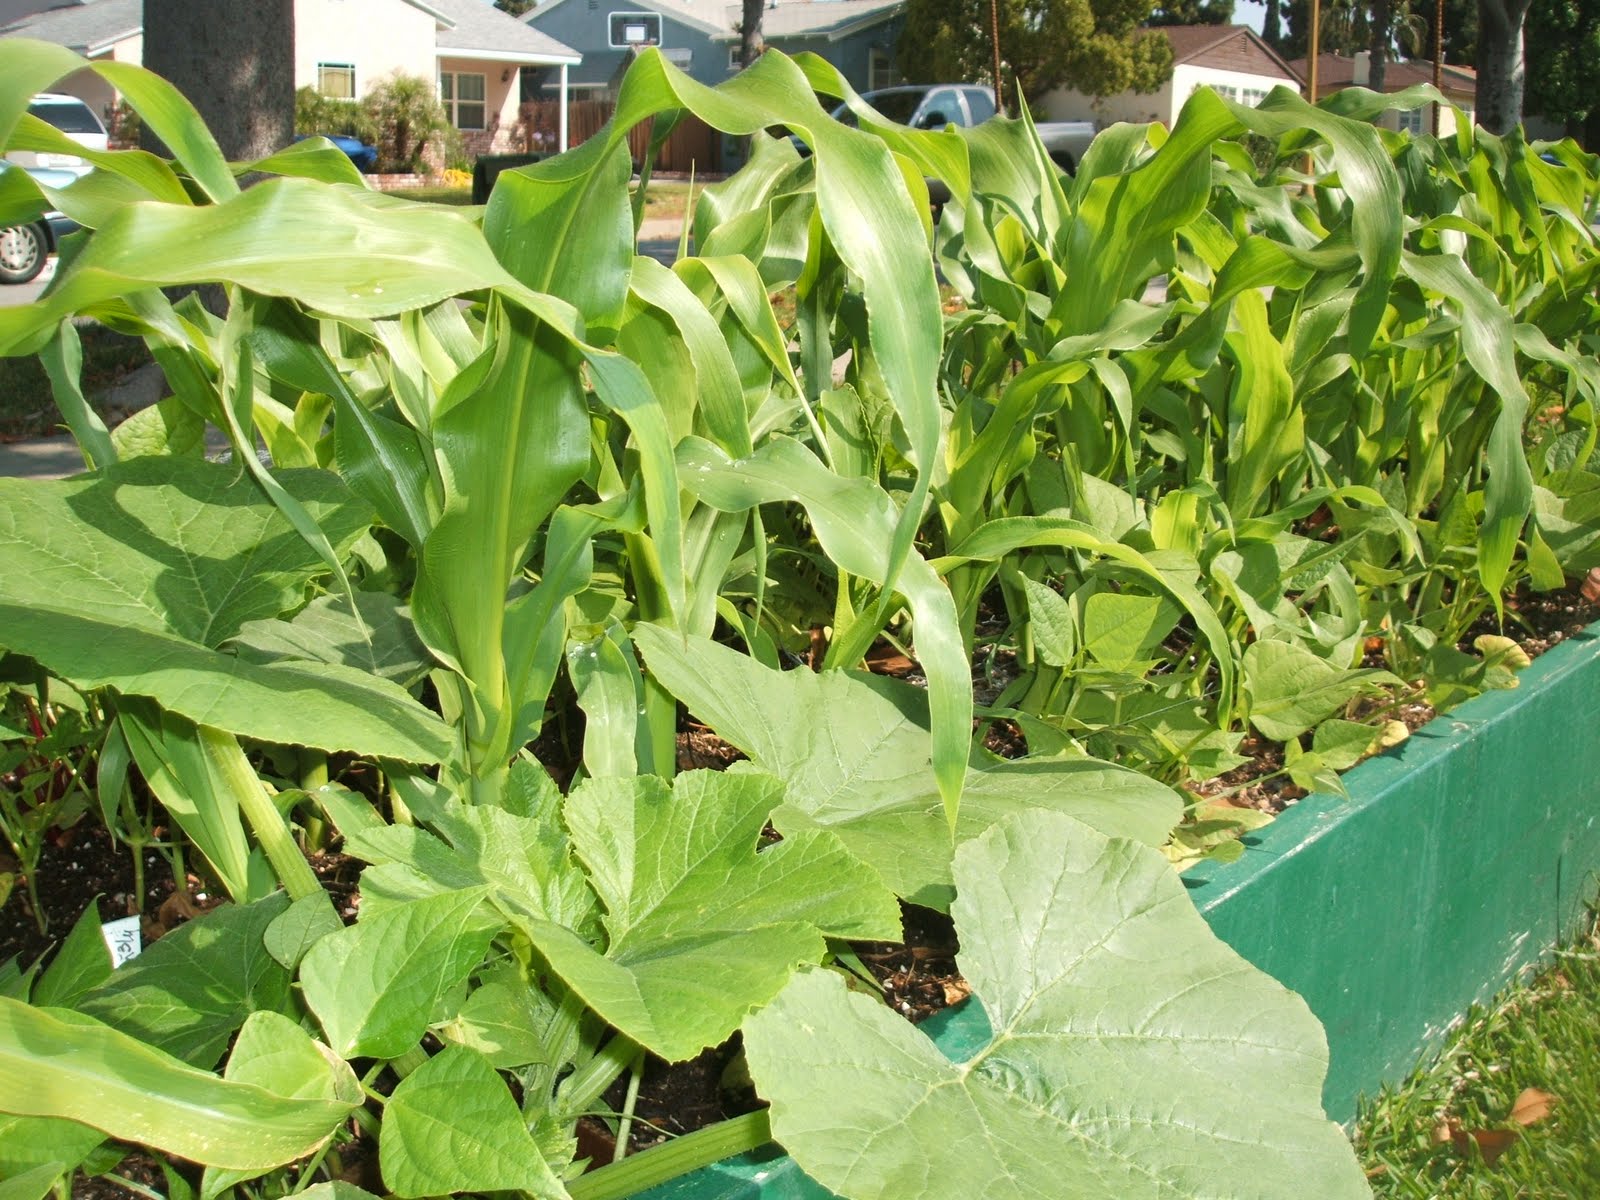
This garden looks amazing!  Everything is growing better than expected.  The front of the bed shows the carrots and beets.  The back of the bed is my 3 sisters garden (corn, beans and squash) a combination that was started by native American gardeners.  To keep out the wild life (cats, dogs and raccoons) and provide additional support to the plants, my husband used rebar and fishing line around the border and through the center of the bed. 


Watch each week as I update the pics.

Follow up: 06/04/2011:
I've been gone a few days.  It's always exciting to see how much things change in a short time.  The corn is taller than the tops of the rebar.


The front of the bed  looks great. 


The squash plant has a few blossoms, but no fruit yet.


The beans have small purple flowers.  None of the vines are winding around the corn, though.

I have beets that are ready to harvest, and I've already cooked up some of the beet greens. The carrots, while bushy and pretty aren't even close to being ready yet. 
A few neighbor's have commented on how nice the garden looks and I have been able to share a few thoughts and tips about growing your own food.

Be Well and Happy Gardening!


Monday, April 4, 2011

The "Invisible" Planter

Today's project is a 3 tier plant stand.  It could be used on a patio or balcony and would look great planted with annuals or herbs.  The only materials needed were:
tomato cage
pliers
wire cutters
chicken wire
potting soil
spagnum moss
gloves

Turn the tomato cage upside down.  Using the pliers or your hands, bend each of the "legs" of the cage into a loop so that there are no pointed ends sticking up.
Wearing the gloves and using the wire cutters, cut the chicken wire into circles that will fit inside each of the circles of the tomato cage.  Bend the chicken wire into a bowl shape and place in the circle, wraping the wire edges of the "bowl" around the hoops of the cage to hold the it in place.

I started at the top and worked down, however I think that it would have been a bit easier if I had started from the bottom and worked up.
The moss was to be used to hold the potting soil in place, but as I started lining the chicken wire bowls I realized that I wouldn't have enough to get the job done. Out of necessity I lined the bowls with plastic dry cleaning bags instead.
I filled the bowls with potting soil and poked a few holes in the bottom of the plastic for drainage.  I tucked the moss into chicken wire to hide some of the plastic.

My new planter is filled with potting soil and is ready to go.  I can't wait to see it filled with herbs and flowers and I will follow up with another picture as soon as possible.
The inspiration and the instructions for this project came from a book called "Trash to Treasure #6" which is a Leisure Arts Publication.  I purchased my book at EdwardHamilton.com, which has low prices on new and older books, and shipping for one low price of $3.50.


Follow up: I planted the tiers with herbs and they proceeded along quite well until the birds pulled out all of the Spanish moss for their nests. 
There it sat, for months, while I looked for a free replacement for the Spanish moss.  Then one day, out of the sky, came the replacement.  OK.  Not really out of the sky, but off of the neighbors palm tree.

It was a big piece of fiberous material, pliable enough to be cut and formed into the chicken wire cages.
Water drains through the weave and on to the plants below.
I'm currently using the planter to hold some extra strawberry plants that were left over after planting time.