Tuesday, August 21, 2012

Leftover Lights

I've had these old lights laying in my brick planter for a long time. They don't have any wiring attached so they won't be lighting my pathway any time soon.

 After reading this tip in a garden magazine I decided to repurpose them as plant holders.  It only takes a few items to put these together, and most of them will be things that you have on hand.
Potting soil or some other soil medium
old outdoor lights
succulants, cactus or other low care plants

If you have a lot of time on your hands you could clean these up and/or paint them, but I just wiped the lights clean.

I removed the bulbs from inside the lights.  Many home improvement stores, including Home Depot, will let you drop off your light bulbs and batteries so please don't send these to the landfill.
My peat moss was one big rock so the bulk of my time went to breaking it up into useable pieces.
I added a little vermiculite for extra drainage and filled my little pots with soil.

I had a few pots of succulants on hand but most dollar stores have pots of cactus and succulants if you need something quick & cheap.  A hole in the center helps save the roots when planting.
Push the plants in the soil, pressing the soil firmly around the roots.
Push the stems of the lights in the soil and enjoy your designer pots!


 Be well and Happy Gardening!

Thursday, April 19, 2012

Concrete Block Tool Holder

Corral your brooms, rakes & shovels with concrete blocks.  4 blocks, stacked one on top of another makes a great tool caddy.

Best of all, the tool caddy can easily be taken apart if you need the blocks for a future project (side table, planter, etc.).
Be well and Happy Gardening!

Friday, April 13, 2012

Roll Out The Barrel (again)

In my blog last Novemeber I reused a wooden barrel as a dog house.  It was a great frugal fit for our pet until a family member offered up a dog igloo that she didn't want.  What can I say. The dog house was a better dog house than the barrel could ever hope to be.

The barrel was rolled to another part of the yard and turned into a potato bin. 
Now, I've never had much luck with potatoes and I've tried many times and many different ways.  Each failure had me doubting whether there would be future attempts.  But I'm nothing if not persistent so here I go again.
I read an article by Christy at Gardenerd.com who wrote about having wonderful luck growing potatoes in a container.  Whats a barrel if not a big container, right? 
I left my seed potatoes in a bag in a dark closet until we had some good roots growing.  These potatoes came from Peaceful Valley Farms in Auburn, California. 

I started by adding about 4 inches of partially composted leaves, potting soil and sifted compost to the bottom of the barrel.
The potatoes were placed on top, covered with a few more inches of soil and watered well. 


 I made sure to leave the label next to the barrel to remind me what type of potatoes I'm growing.   I always think I'll remember but I don't.


It's amazing how quickly the vines grow.  It seems like every few days I'm adding potting soil or compost to gently cover the vines to within an inch or two of the top leaves.  I hope I don't run out of room.

The variety I planted (German Butterball) is a late potato and should be ready in about 120 days. At that point the vines will be cut down and the potatoes allowed to "mature" in the soil for 2 weeks. This last step will help the potatoes last longer during storage.  I initially planted these on March 23 so I'll be looking for potatoes around the end of July. 
I'll update pictures and let you know how successful (or disappointing) this last method was. 
Be well and happy gardening!

Thursday, April 12, 2012

Plastic Plant Markers

I always seem to be looking for plant markers.  I think this stems from the fact that I'm always planting something new in my yard.  If you've followed my blog you've seen me use old forks, stones and pieces of broken terra cotta pots as plant markers.  All of these ideas (and many others I've read about) work great in the garden, but don't work as well with my seed starting trays.  I wanted something small enough to work under grow lights yet tall enough to hold the plastic up off the soil. I also wanted it to be reused, abundant and quick to make.  After all, when you get in your planting mojo, who wants to stop to make plant and seed markers.
I use yogurt and cottage cheese containers, but any plastic container would work fine.  I also use scissors and a sharp knife.

Use the scissors to make the cuts in your container.  I like to make them about 3/4 inches wide.

I prefer to use the knife to carefully cut down to the bottom of the container but you could finish the job with scissors if thats all you have on hand.


With the scissors, cut along the bottom of the container. 

You can get quite a few markers with no cost and minimal effort and you will be keeping those pesky containers out of the landfill. 

Don't forget the bottom of the container.  It can be used under a small pot as a saucer or cut up in to make more markers.
Be well and Happy Gardening!

Monday, April 9, 2012

Recycled Seed Starting Pots

I hate throwing out trash.  I almost feel like its a form of littering.  Here-I don't want/need this anymore.  Now its your problem. Put it in your back yard.  Even when I'm putting something in the blue (recycling) bin I feel a bit guilty. While it's much better than throwing it in a landfill, it still has to be recycled and that uses energy and fresh water while adding pollution to the environment.  A much better choice is to find a useful 2nd life for your trash.  One regular item in our recycling bin is the 1/2 gallon milk carton.  With very little work you get a great seed starting pot. 
Just a few items are all you need.
1 rinsed out milk carton.  Be sure to dump that milky water around your tomato plants for a bit of a calcium boost.
Scissors or a sharp knife
Ruler and marking pen
coffee filter or napkin


Using the ruler the measure 5 1/2 inches from the bottom of the carton.  Use the marker to make a line around the carton.

Using the scissor or a sharp knife cut around the width of the milk carton.


Turn the top upside down and insert it inside the bottom portion of the milk carton.  Push down on the top piece until its flush with the bottom piece.


Insert a napkin, paper towel or any other (recycled) paper product deep into the carton spout. 

My crazy reason for this is 3 fold.  I wanted to plug the hole so that soil wouldn't fall through while allowing excess water to drain out.  I also felt that paper might wick some of that excess water back into the resevoir to keep the soil and roots moist.  Lastly I feel this method gives the roots a little extra growing room as they travel down the carton.
Fill the pot with soil and plant your favorite herb or vegetable.
Don't forget to mark your containers with the plant name & date.  You think you'll remember but...

Have a happy Spring!

Tuesday, March 20, 2012

My 60 Square Foot Balcony Garden

Our balcony had never looked worse.  It had been neglected for months.

It was an "oh my goodness" moment when I realized what it had become. All the plants were dead and there was so much dust covering everything that I left footprints as I walked across the floor.  This wouldn't do at all.  I'm a passionate gardener with a small yard and I use every square inch of space I have.  Why was I wasting a perfectly good spot?
I decided to do something "frugal" asap.
First things first I washed the balcony down with buckets of water, sweeping it over the edges to water the vegetables in the raised bed directly below.
That done, I started "yard shopping" for pots and plants that were looking for a new home.  It didn't take long to find some useful looking containers, including some great window boxes that my neighbor Lea threw out. 


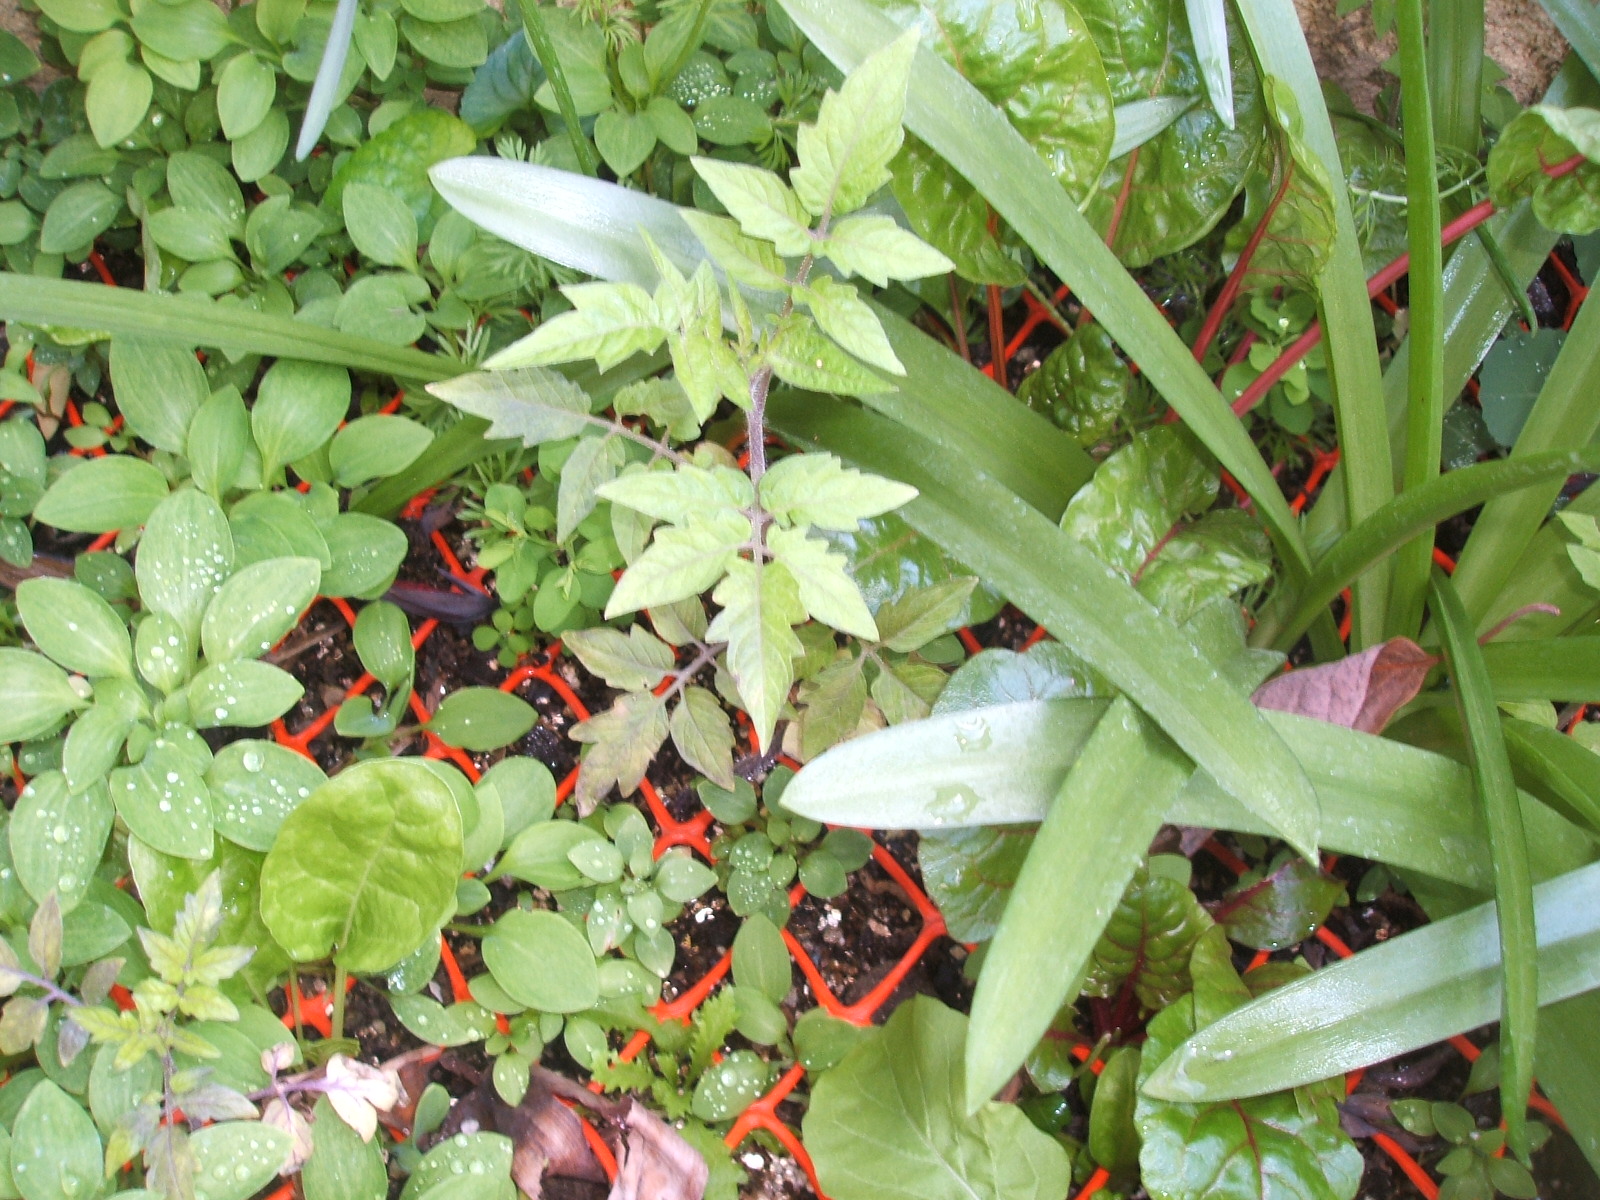
I used some thinnings from my garden beds to fill 3 pots of lettuce and 2 window boxes of Swiss chard.  


A few tomato and pepper plants that were growing in the wrong place were transplanted to large containers and a couple of volunteers of flat leaf parsley went into small containers to be perched on a ledge.


These Purple celery plants had been waiting to be transplanted for a few weeks.  I'm not sure if they will grow in a container but this has to be better than the tiny pots they were in. 


I moved a few pots of herbs recently purchased from Trader Joe's to their new home, hanging them from the balcony railing with chop sticks and wire twist ties.


This copper container was a perfect spot for a mixture of 4 kinds of basil. 

It's only been a week or so but the first seedlings are poking through.

These "branches" are from a friends fig tree.   She assured me that if I planted them, they will root. 

My fingers are crossed.
I sowed some pots of herbs from seeds I had on hand, covering the tray with a sheet of drycleaning plastic to hold in heat and moisture. 
Lastly I sowed lettuce seeds in the remaining window box. 

Future plans include more herbs hanging off the ledge (I think I have room for 15 more pots) and beans that will grow across the balcony railing. 
I'm so excited about our balcony.  It looks great and provides food.  It doesn't get better than that.  I will be updating pictures as the season progresses.  .
Be well and Happy Gardening!