Sunday, June 9, 2013

Terrific Tomato Pots

I went a little crazy with my seed starting this year.  You know how it is. You get into your mojo and end up biting off more than you can chew.  I guess that's how we gardeners work.
This year was the year of the tomato.  I planted 7 trays of tomatoes under my grow lights and in the blink of an eye I had over 100 seedlings ready to transplant.  I didn't have any idea where they were going.  I don't have that much empty space in the garden.  In order to get some of them up and out into the yard I combined two of my favorite gardening techniques-composting and container gardening.
Today I'm "Lasagna gardening" in a pot.  If you're not familiar with Lasagna gardening you're missing out on a terrific gardening method.  In a nut shell, lasagna gardening  "layers" brown and green organic materials (much like layers of lasagna), topping it with potting soil and planting directly in these "composting" beds.  The book "Lasagna Gardening", by Pat Lanza is one of my favorites.  It not only explains the whole process in great detail but also contains many tips and ideas for an easy care garden. 
These tomato pots are not only quick and easy to put together but you probably have everything you need laying somewhere in your yard or garage.

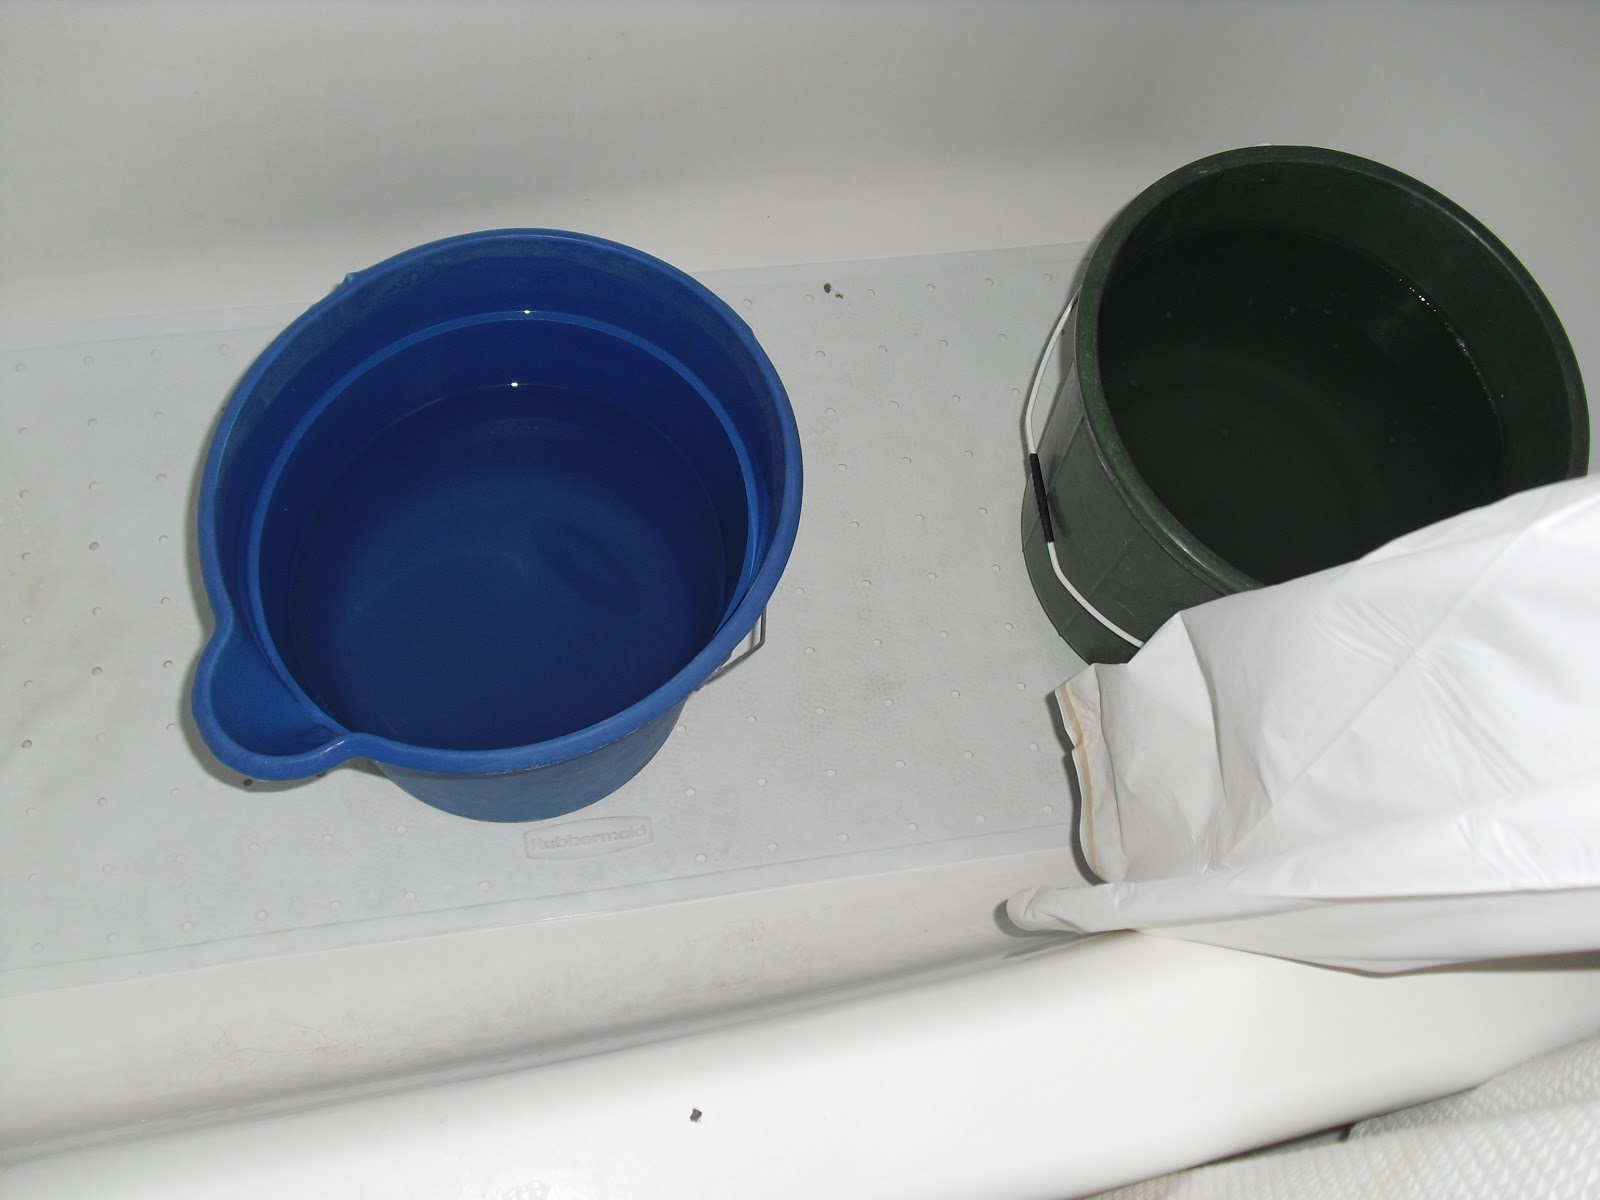
5 gallon bucket (or a similar sized container)
tomato cages (or sturdy sticks and twine for a support system)
potting soil
shredded leaves
grass clippings
finished compost (if you have it)
fertilizer
tomato seedlings
labels & permanent ink pen
drill

Try local restaurants and donut shops if you're looking for 5 gallon buckets.  Most places throw them out anyway so you can score them for free.

 
Drill holes about 1" apart in the bottom of the 5 gallon buckets. If you don't have a drill a hammer and nail will get the job done.  Nothing will kill a plant quicker than wet roots so don't skimp on the drainage.


Add your shredded leaves first, filling your buckets about 3/4 full.  Putting the leaves first adds bulk to the container and the leaves help drain excess water away from the plants roots.


Watering after each layer ensures you won't be planting in a dry mix.


Add your grass clippings next.  A layer an inch or two thick will get the compost cooking.  Don't forget to add more water.


If you have some finished (or partially finished) compost add it now.  The bacteria, fungi and other decomposers will start turning your green waste into compost.


A dose of fertilizer will feed your plants and help replace important nutrients lost during the composting process. 


Finish your pots with thoroughly moistened potting soil.  It's easiest to do this in a wheelbarrow or other large container before adding it to the pots.  You're giving your seedlings a bit of a shock just by transplanting them.  Don't add to their stress by starting them in a "dry" home.


These tomato seedlings don't look like much now but just give them time (and water) and they will take off.


My seedlings are planted and ready to grow.  Don't forget to label your containers. 
As the leaves and grass decompose the soil level will drop.  Tomatoes are the only edible plant (that I know of) that will grow roots out of the stem.  Adding more potting soil will result in stronger, healthier plants. 
The soil in potted plants leach nutrients with each watering.  Be sure to fertilize more frequently, but at a lighter dose, than you would plants in the ground.

Interested in reading more about Lasagna Gardening?  Try Hamiltonbook.com for a good deal on this book as well as other gardening books.   Plus, there's always just one low price on shipping (no matter how many books you buy) and a "no questions asked" return policy.


June 09, 2013.  I started these pots on April 16th.  My plants are big and bushy with blossoms and fruit on all of the plants. 

The Roma tomato already has clusters of fruit.  It shouldn't be long before the other plants follow. 
I think next year I will really go crazy and turn my boring driveway into a potted paradise.
Be well and happy gardening!

October 06, 2013.  I got a very good crop of Beefsteak and Chadwick Cherry tomatoes from these pots.  While the Roma tomato put out a lot of fruit, the whole crop had blossom end rot.  I tried amending/fertilizing the soil with gypsum and tomato fertilizer but wasn't able to save any fruit.  After the season ended I pulled out the plants and added the contents of the 5 gallon containers to the compost bin.  The containers will be scrubbed clean and reused for fall crops.

Sunday, April 7, 2013

Coffee Klatch

If you're anything like me you start your morning with a cup (or a pot) of coffee.  It's my favorite way to begin the day and I usually take my last cup outside to enjoy while making my morning gardening rounds.  This means the first "kitchen scraps" of the day are coffee grounds.  I know a few people who flush this wonderful source of garden magic down the garbage disposal, or worse yet, they throw it away (gasp!).  Used coffee grounds are one of the easiest items to reuse in your garden.

1. Add to your compost pile.  Just throw them in, filter and all.
2. Add to your vermicomposting bin.  Woms have a gizzard (just like chickens) and coffee grounds  help them digest food. 
3. Use them to fertilize acidic-loving plants such as Azaleas, Rhododendrons, evergrees, and blueberries (to name a few). 
4. Coffee grounds are said to repel slugs and snails.  Scatter around your plants and you can fertilize and prevent damage at the same time and without the use of chemical products.
5. Keep your cats from using your garden as a potty by spreading coffee grounds and crushed orange peels around your plants. 
6.  Ants hate coffee grounds.  Sprinkle coffee grounds on anthills, around your lawn, and anywhere you see ants forming. 
7.  Mixing your carrot seeds with dry coffee grounds before planting makes the small seeds easier to sow.  Some studies suggest that it may also help to repel root maggots. 
8.  Use on indoor plants.  A small amount scratched in to the soil surface can give your plants a bit of bloost.
9.  Coffee grounds make a great mulch for your summer vegetable garden.  It's high in nitrogen, making it a wonderful fertilizer for heavy feeders and fast growing vegetables.  It also provides phosphorus, potassium, magnesium and copper.
10.  Coffee grounds work well as a mulch between pathway pavers.  The grounds look beautiful while suppressing weeds and smelling fantastic.

By the way, if you don't drink the last bit of coffee in the pot, don't dump it down the drain-pour it on your plants!   Your blueberries (or Rhododendrons) will enjoy it as much as you did.
Be well and happy gardening!

Friday, March 29, 2013

Chop, chop

Chopping yard debris for my compost bin can be a tough job.  The recommendation is to cut your organic material into 1 inch pieces. 
My push reel mower and a weed wacker takes care of the grass.
A leaf vac sucks up and mulches dead leaves and my McCullogh mulcher chops up small branches and other woody materials but nothing works very well with green (wet) or fiberous plants. 
Whats a composter to do?
Well, many thanks to Paul James (remember HGTV's garden guy) for this great tip. 
Place your plants in a heavy duty trash can and use your weed wacker to quickly chop everything into small pieces.  
In seconds a trashcan full of bolted radishes (or Arugula, or canna lilies, etc.) is cut down to a manageable size.
CAUTION: Plant pieces will be flying.  Be sure to wear eye protection...long sleeves aren't a bad idea, either.
Be well and Happy Gardening!

Monday, March 25, 2013

Why Waste Water?

In a dry world the true wealth of a man will be how much water he has. 
I wish I could remember where I read those words but my memory isn't what it used to be.  No matter, the thought has managed to stay with me.
A class in "waterwise" living mapped out the large (dry) picture. 
3% of the earths water is fresh and 97% is ocean.
Of the 3% (fresh water) 2/3 of that is glacial or unaccessable.
In a nutshell, there's not a lot of fresh water out there.
A few other notes worth listing:
13 gallons of water per person per day is poverty level (in some parts of the world people exist on even less)
151 gallons per person per day is the U.S. average
40% of residential water goes to outdoor use.  Gardens can be very thirsty. 
I live in Southern California.  With less than 16 inches of rainfall a year our climate is considered semi-arrid.  We are constantly hot and dry.  So while I can grow fruits and vegetables all year long it takes A LOT of irrigation to do it.  What's an environmentalist to do?  Conserve, reuse, repurpose and reclaim the water that I use every day.
Here's a list of my day to day "waterwise" living:


We keep a couple of buckets in the shower.  Clean water (water saved during warming) goes on edible crops.  Soapy water gets used to flush toilets or gets used on our potted ornamental plants.


My granddaughters bath tub holds soapy water that gets reused, bucket by bucket, to flush toilets, water plants, etc.


I use watering cans or empty containers to collect water I'm warming for dish washing.


I hate letting anything go to waste so once again I reclaim what would otherwise go down the drain.  This bucket in the kitchen sink holds liquids (leftover coffee, soda, cooking water, etc.).


The apple tree next to my kitchen door gets much of it's water from what I save in the kitchen.


A pool vacuum hose delivers grey water from my washing machine to my lawn and ornamental garden.  I keep it earth friendly by using environmentally safe, plant based detergents.


Rinsing my produce in the garden leaves most of the soil (and some of the pests) outside while giving a drink to the plants below.


Our downspouts are left high enough so that a trash can fits underneath.  All the trash cans have tight fighting lids to prevent mosquitoes from entering the water.  5 gallon buckets hold the overflow,  and this "uncovered" water gets used first after the rain stops, watering pots, trees, and even just dumped on to the lawn or soil.  Water kept on your property will always be appreciated by your plants.  When our short rainy season ends the trash cans and buckets get reused in the summer garden.


To save water, and my time and energy while watering, I hang plants off our concrete wall, placing them directly above larger potted plants.  I water the top plants and let the draining water take care of the plants below.  This works especially well if you put the "thirstier" plant on top and place plants with lower water needs on the bottom.

It can be tough to think of water as a precious resource.  It's so easy to turn on a faucet and get all the water we want.  But forecasters predict the drought plaguing most of the U.S. (and world) will continue.  Fresh water continues to be in short supply.  It's never to late (or early) to cut down on the amount we use while reusing what we have.

Be Well and Happy Gardening!

2019 Update:  Last summer we purchased an above ground pool to help cool us off during the hot summer months.  Our small pool holds almost 900 gallons of water.


Our summer "cooling" center, but could be
useful for other purposes in an emergency

 The filter system and pool vacuum are run with solar power and the water is chlorinated to prevent mosquitoes from using it as a breeding area.


Off Grid Solar Panel system from Costco


Batteries charged by panels to supply electricity 
to the swimming pools filter system

Since it's too cold to swim, I use buckets of the chlorinated water to rinse down the backyard "potty" area after cleaning up after my dogs.


Pavers in our backyard 

Recently we replenished our half full pool during a day of strong rain by diverting rain from our rain gutters.


A plastic gutter directs water from our roof, through
the down spout and in to a trash can (rain barrel), 
on to my boysenberry beds, in to the swimming
 pool or out to the flower garden


Spring Flowers!!

A recent tally of my water holding capacity is approximately 2000 gallons with half pool water (chlorinated) and half fresh.  While it sounds like a lot, it's used up quite quickly by fruit trees and raised garden beds.


Sunday, February 3, 2013

The Miracles of Mulch

I love using mulch in my garden.  It helps control weeds, conserves water and improves the overall appearance of my garden.  What I don't love is the cost and hassle of commercial mulch.  I guess I'm just too frugal (cheap?) to spend money when there are lots of alternatives right at my fingertips. 
I use many different types of mulch in my yard with much of it depending on what is available when I need it. 
My first preference is organic mulches.  They break down over time adding organic matter that improves soil structure and feeds beneficial soil organisms.  A thick layer of organic mulch also cools the soil resulting in the need for less irrigation.  My favorite organic mulches include grass clippings, shredded leaves,

                                                         "not quite finished compost"


                                                and our dried and shredded Christmas tree. 

Most people will tell you to be careful using pine around your plants.  Pine needles have a low pH and you'll hear you should only use them around acid loving plants but the reality is that it takes a lot of any one ingredient to change the overall pH of your soil.   Use them on your acid loving plants first but if you don't have any plants with those needs don't worry and don't let your Christmas tree go to waste.
When free organic mulch isn't available I switch to inorganic mulch


Landscaping pavers and terra cotta pieces


River Rocks


                                                         Wine corks and landscape stone


You're probably thinking...wow, what a wino!   Actually, I do love drinking wine but many of these came from the restaurant I worked for and they would have ended up in the trash had I not taken them home.
Using mulch is one of the most important things I do to save time and money while improving the look of my yard and the health of my plants.
How about you?  What kind of mulch do you use?
Be well and happy gardening

Sunday, January 27, 2013

Chopped Citrus Keeps Cats Away

We had a bumper crop of citrus this year.  Our 14 dwarf trees gave us about 26 dozen limes, oranges and grapefruit and we've been busy eating (and drinking) the fruits of our labors.
While most of my kitchen scraps end up in the compost bins I'm always open to other "green" ideas for getting rid of every day waste.
On a daily basis one of my biggest pest problems is the neighborhood cats who view my raised beds as their personal litter box.  Of course this leaves me worrying about the safety of the food I feed my family, especially the produce that doesn't get cooked like lettuce, radishes etc. I have an aresenal of weapons to deter the cats from using my beds including some plastic chicken wire that a neighbor was throwing out.


                                                            and thorny rose branches


It's a constant fight to make my beds as uncomfortable as possible and nothing gives 100% protection.
One method that has provided some help is chopped citrus rinds. The theory seems to be that the cats don't like the smell.
When I have a pile of rinds on my hands this is a quick way of disposing of them while sending the neighborhood kitties on to other pastures.

              I cut the rinds into fourths and give everything a few quick pulses in the food processor.

 
                             I sprinkle the course rinds around and between the garden plants. 


While the citrus rinds were fresh they gave the most protection and for over a week I didn't have any kitty problems.  The rinds were less effective as they dried out but no matter, the dried rinds decompose quickly and it's a quick and it's an easy job to chop and spread more,  Fresh juice (Mimosa's) anyone?
Be well and happy gardening!