Thursday, June 30, 2011

Wine Bottle Border

I bought quite a few blueberry plants this spring.  I didn't need them, didn't even know where to put them, but it was an end of the season, 1/2 off sale at Peaceful Valley Farms.  Who could resist? 
With the need to get the plants in the ground before the late season heat set in, my husband and I dug holes in the lawn and planted them right there in the grass.  This didn't work out well.  The scrawny plants kept getting stepped on or I would drag the hose over them while watering.  I tried using bricks and metal cages to protect them but it wasn't working and I knew it wouldn't be long before the plants would be dead.
I've seen projects using wine bottles to edge pathways and borders, and I thought I would give it a try around my berry plants.
I work in a restaurant so I have easy access to lots of empty wine bottles.  I also love wine, so it wasn't hard to come up with enough bottles for this project, however one border takes 20 bottles so if I'm going to edge around all my berry plants, or along a pathway for that matter, I better get crackin' on drinking/saving bottles.

I start by digging out a circle around the blueberry plant.


I used a garden fork to further loosen up the soil.

I placed a bottle upside down in the hole.  I don't have a mallet so I placed an old rag on top of the bottle and used a brick to pound the bottle in the soil. 

The brick worked ok, but you can't really strike the bottle as hard as needed to enbed it deeply in the soil. 
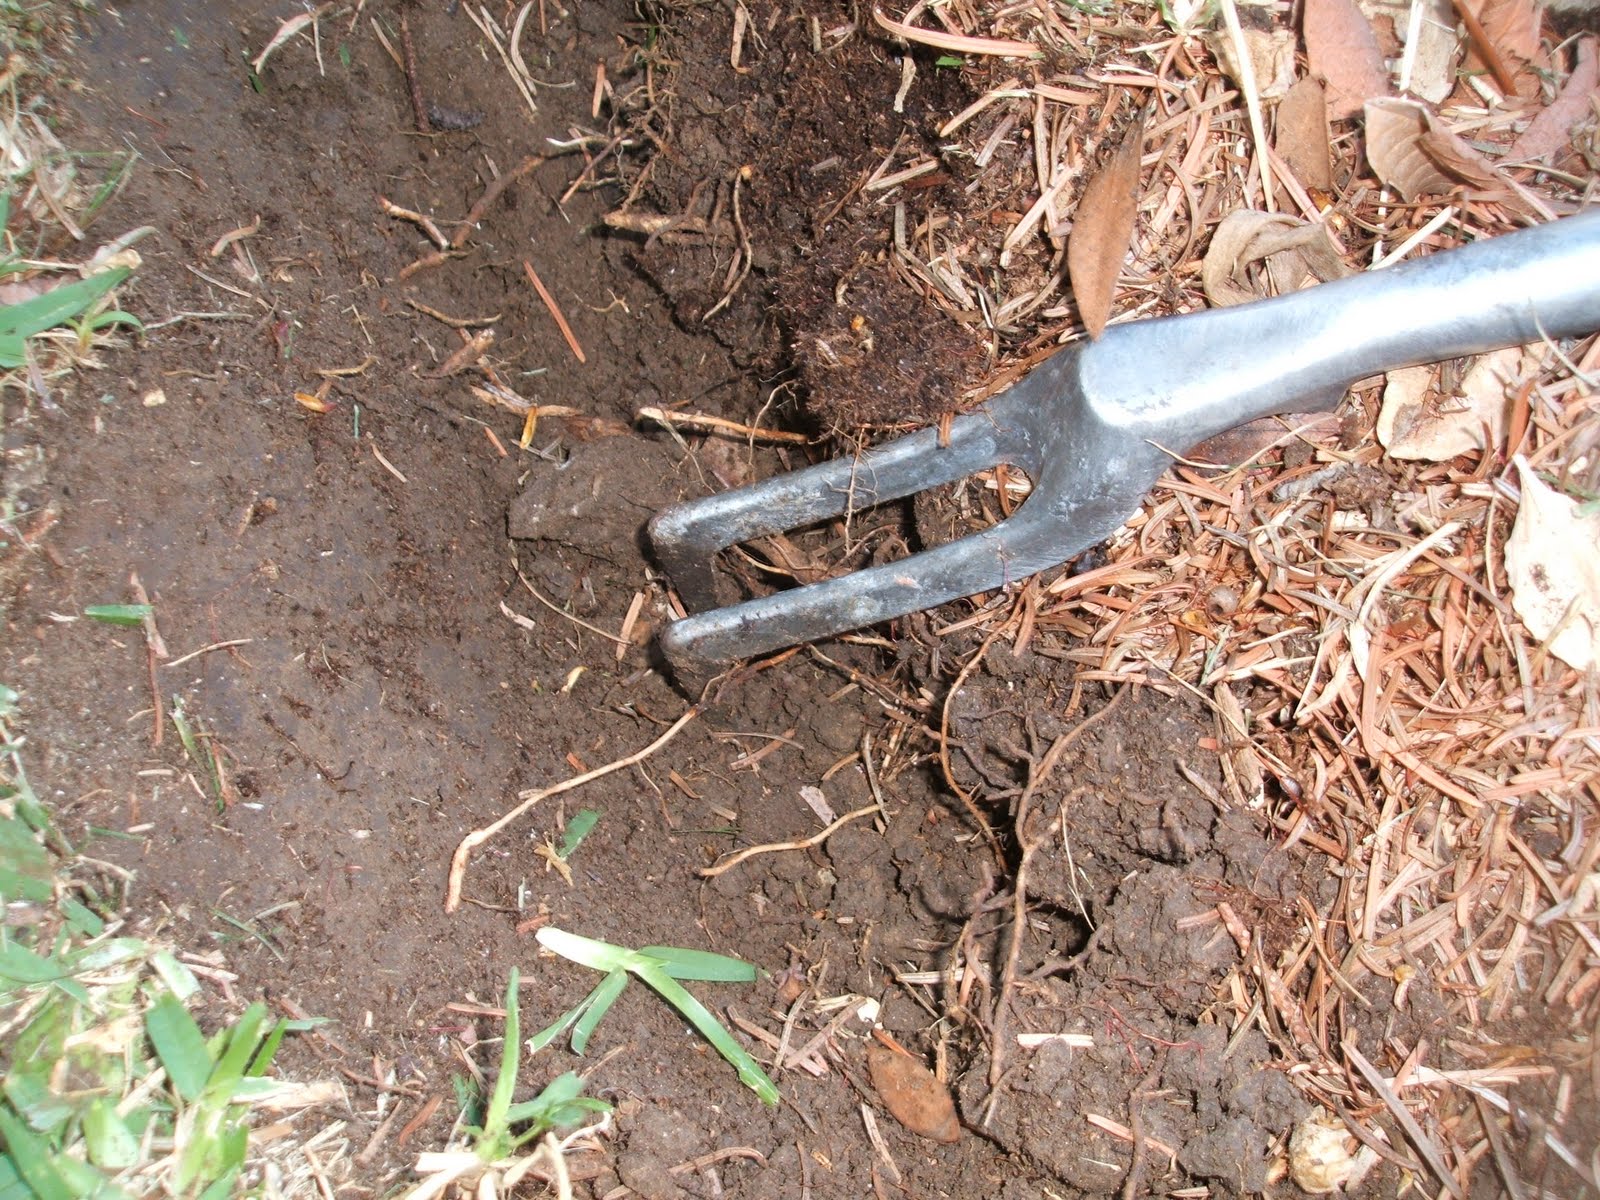
Since that was all I had to work with I continued around the circle, loosing the soil with the fork, removing the soil from the circle, adding the next bottle and pounding it in place. 

When I got to the end of the circle it took a bit of time (and work) to make the bottles fit correctly.  I think this was the most difficult part of the whole project.
Around this time my neighbor came over to see what I was up to.  He's used to seeing the unusual happenings that go on here and he was looking for the source of the noise I was making.  He lent me a rubber mallet which allowed me to strike the bottles hard and made finishing the job a breeze.  I know what I'll be asking my husband for on my next birthday.

I back filled around the bottles with the soil I had removed and added some mulch around the plant and bottles.


The bottles are buried deep enough that they won't move if a hose gets caught on it, and the plants will be protected from foot traffic.
Now I just have to hope I won't trip over it.
Be well and happy gardening!

Update 04/20/2015:
My wine bottle border stayed up for quite a while.  At the end of 2014 I pulled up the bottles and the blueberry plants.  The bottles were used to surround a bed of fruit trees and flowers. 


FYI, I use the weed eater right up against the bottles.  The weed eater has a guard that can be lowered to prevent damage to trees, fences etc.

Friday, June 24, 2011

Pizza Box Stepping Stones

I saw this garden project in a book titled "Trash to Treasures 1" by Leisure Arts.  These stepping stones use mostly recycled items.  The only item purchased was brick mortar.  The bag cost me about $3.00 and I used 1/4 bag so the stepping stones cost just .75 for 2. 
The recycled items are:
pizza boxes - I made a 13" and a 9" stone
dry cleaner hangers
dry cleaner plastic bags
pebbles, tile, shells etc.
You will also need:
duct tape
sand paper (optional)

Cut off the top of the pizza box. 

Reinforce the sides of the box with duct tape.

Line the box with the plastic.  Creases in the plastic will mean creases in your finished stepping stones so smooth it out as much as possible.  Some of it can be sanded down later but you can't fix everything.

Use the clothes hangers to reinforce the stepping stone.  For the larger stone use 4 hangers.placing one of the "hooks" in each of the corners of the box.  For the smaller box I twisted the hanger and placed it inside of the box.

Mix the mortar with water using an old bucket and shovel.  I don't know what's in the mix, but be safe and use a dust mask or some other covering over your mouth and nose.
The best consistancy of the mortar is slightly thick.  If your mix is too thin your decorations will sink, if it's too thick they won't stick when the mortar is dry.  Pour the mortar into the boxes, smoothing it out with the back of the shovel.

Next comes the best part, the decorating. This would be so much fun to do with children! 
I used leftover tile and pebbles from our patio and yard.


I let the stepping stones sit through a couple of hot days to dry completely. 
Using a stiff scrubber I cleaned off each of the tiles and stones, then used a damp cloth to wipe everything clean. 

Tip the stone out of the box and pull off the plastic.  If you have some rough edges you can sand them down, but I think they look a bit rustic and plan to leave them just like they are.

Be well and happy gardening.


Thursday, June 23, 2011

Terrific Recycled Terrarium

I had a few small succulant's waiting for a home.  They were the offspring of some larger plants.  There they were,c sitting in an empty pot on my garden table, no soil or water and still managed to stay alive.  After all they had been through it seemed unkind not to do something with them.  
I saw a centerpiece at a retirement party that gave me inspiration for this project.   It used a "fishbowl" type vase and small succulants.  I had both on hand although any deep bowl or vase would work for this.  I couldn't locate sand anywhere, so I purchased a bag at my local hardware store.  50 lbs of all purpose sand cost $2.25, and I used about 10 cups so I have a lot left for other projects.  The only other items I used were a few stones and some potting soil.

I placed a few stones (river rock) in the bottom of the vase and topped it with about an inch of sand.

I mixed 2 parts potting soil with one part sand to make a well drained mix and used it to top the sand. 

On top of the soil I added another inch of sand, smoothing it out like I was icing a cake.

I gently placed the pebbles in the sand.  I chose a  "fork in the road" design because it seemed simple, but I might try something a bit more challenging next time.


I added the plants last, pressing them gently into the sand.  Trying to change the placement can be messy so it's best to make sure you're putting them where they will be staying.

Water gently with a sprayer or mister.
This easy to care for centerpiece looks great on my patio table.

Be well and happy gardening.

Sunday, June 19, 2011

Recycled Compost Sifter

Readers of my blog know I'm crazy about composting.  It's the ultimate trash to treasure, taking browns and greens and turning it into black gold.  I'm always making compost and eagerly look forward to the finished product.  When the contents of the bin have decomposed to 1/3 of it's original size, and I can no longer identify the materials I added, it's time to sift my compost.
There are some wonderful compost sifters out there.  Most garden catalogs carry them and I've seen homemade ones that look like they work very well.  I have an easier way to sift my compost.  Nursery garden flats! The flats are lightweight, have different sized holes to choose from, and can still be used to tote your nursery packs from spot to spot when not used as a sifter.
 
Stack 3 or 4 flats together, placing the smallest desired hole size on top.  I sift over buckets, an empty trash can, or a wheel barrow.  Don't forget to use an old shower curtain under everything to make clean up easier.

The finished compost can be used as a growing medium, soil amendment, or fertilizer.

I resift the left over (larger) pieces using flats with larger holes.

I use this as mulch around fruit trees and other plants.
The largest pieces go into the current compost bin, topping off recently added kitchen scraps and adding worms and decomposing microbes to the pile. 
 Be well and happy gardening!

Friday, June 17, 2011

When Life Gives You Banana's Make Bread-And Fertilizer

My local store sells overly ripe banana's for a dime each.  I can't pass them by.  I make some great banana bread (just ask my family and neighbors) and you gotta have ripe ones for the best bread.  I usually buy all they have, freezing the peeled fruit until I'm ready to bake.

Enough for 2 batches

The peels could easily be composted, but I prefer to use them as fertilizer for my roses.

Banana peels are a good source of potassium and also supply a bit of phosphorus.  They have an NPK of 0-3-42.

My favorite way to use the peel is to cut it into small pieces and freeze it before using.


The freezing changes the cell structure of the peels and as they thaw they break down more quickly in the garden.

When the peels are frozen, dig a couple of holes around your rose bush and bury about a cup of peels in each one.  Cover with soil to keep rodents from digging them up. 

Some google searching found other (interesting) ways to use banana peels.
1. When transplanting roses, place a banana peel (and some say a tea bag) at the bottom of the hole.
2. Put peels in a 350 degree oven and bake until crisp, than bury next to your rose bushes.
3. Freeze and put through a food processor than bury around your plants
4. Make banana-peel tonic. Cut the peels of a banana into a spray bottle and cover with warm water. Put the lid back on the bottle and leave for 2 weeks. The peels will ferment. Spray the rose bushes with this liquid.
I plan to give these other methods a try, and would love to hear from readers who use banana peels around their plants.
Be well and happy gardening.


Tuesday, June 14, 2011

PVC Pipe Does Deep Irrigating

I like to use my strawberry pots to grow herbs and other annuals, but getting water and nutrients to the roots of the plants was difficult.  My husband solved the problem with a piece a PVC pipe, a pipe cap, glue and a drill.  I wish I had pics of him making these, but I've actually been using this one for a few seasons so I'll just have to give some details.
The pipe he used was 1 1/4" in diameter, but any left over piece would be fine.  If you don't have a cap on hand (and who does) you'll have to hit your neighborhood hardward store, but the piece was pretty cheap.
He cut the pipe so that it was about 1 foot higher than the pot and glued the cap onto the pipe.  He drilled random holes through the lower 2/3 of the pipe.


I used an old piece of rebar to loosen the soil


The rebar makes room for the pipe to go in


The pipe makes it easy to get water to the roots of the plant. 


By adding liquid fertilizer, compost tea or worm tea to the pipe you can get nutrients to where they are most needed. 
Be well and happy gardening!

Thursday, June 9, 2011

Instant Garden Beds

I'm always searching for new places and new containers for all of the plants I bring into my garden. 
This spot has been sitting empty for a while as not much has done well here. 

The mini bed has 2 small sides built around an old clothesline that I have used as a trellis.  Either the small size of the beds or the lack of sun exposure has caused my crops to be less than impressive here.
I saw this garden tip in the August 2000 Organic Gardening magazine. I thought it looked like a quick way to get a new garden bed going by planting directly in bagged potting or topsoil.
I cut 8 to 10 drainage holes on one side of the bag and laid it out (with the holes on the bottom) where I wanted the garden bed to go.

I cut a large X in the top of the bag and tucked the plastic flaps inside the bag.


I added some organic fertilizer and worm castings and watered the bag well.

I planted a "Sunburst" cherry tomato seedling in the soil.  I used a flat rock and some green paint for the plant marker.

Once the tomato plant gets growing I plan to add a bit more potting soil and top it off with some mulch from the compost bin. 
Next season I can reuse the potting soil in another project, or pull the plastic away and try direct planting once more.
This project was so easy that I'll be making 2 more instant garden beds with a couple bags of soil that I have on hand.  Looks like I will finally be planting the rest of the seedlings I started earlier this spring. 
Many thanks to Kit Kellison of Chesapeake, Virginia who submitted this tip to OG magazine.
Be well and Happy Gardening

06/11/2011
Follow up:
I added 2 more instant garden beds in front of my kitchen window. This area gets some afternoon sun, but the house shades it from the worst heat.

The pot in the center of the bags is filled with manure (good nitrogen source for greens) and organic fertilizer.  When I add water I'm feeding the plants and watering deeply at the same time.

The seedlings I'm using are transplants from the micro greens that I started earlier (04/11/11blog).  One planter will get mixed lettuce and the other gets the spinach.

I hope that the part sun/part shade combo this bed gets will keep the greens going a bit longer into the season.