Thursday, April 12, 2012

Plastic Plant Markers

I always seem to be looking for plant markers.  I think this stems from the fact that I'm always planting something new in my yard.  If you've followed my blog you've seen me use old forks, stones and pieces of broken terra cotta pots as plant markers.  All of these ideas (and many others I've read about) work great in the garden, but don't work as well with my seed starting trays.  I wanted something small enough to work under grow lights yet tall enough to hold the plastic up off the soil. I also wanted it to be reused, abundant and quick to make.  After all, when you get in your planting mojo, who wants to stop to make plant and seed markers.
I use yogurt and cottage cheese containers, but any plastic container would work fine.  I also use scissors and a sharp knife.

Use the scissors to make the cuts in your container.  I like to make them about 3/4 inches wide.

I prefer to use the knife to carefully cut down to the bottom of the container but you could finish the job with scissors if thats all you have on hand.


With the scissors, cut along the bottom of the container. 

You can get quite a few markers with no cost and minimal effort and you will be keeping those pesky containers out of the landfill. 

Don't forget the bottom of the container.  It can be used under a small pot as a saucer or cut up in to make more markers.
Be well and Happy Gardening!

Monday, April 9, 2012

Recycled Seed Starting Pots

I hate throwing out trash.  I almost feel like its a form of littering.  Here-I don't want/need this anymore.  Now its your problem. Put it in your back yard.  Even when I'm putting something in the blue (recycling) bin I feel a bit guilty. While it's much better than throwing it in a landfill, it still has to be recycled and that uses energy and fresh water while adding pollution to the environment.  A much better choice is to find a useful 2nd life for your trash.  One regular item in our recycling bin is the 1/2 gallon milk carton.  With very little work you get a great seed starting pot. 
Just a few items are all you need.
1 rinsed out milk carton.  Be sure to dump that milky water around your tomato plants for a bit of a calcium boost.
Scissors or a sharp knife
Ruler and marking pen
coffee filter or napkin


Using the ruler the measure 5 1/2 inches from the bottom of the carton.  Use the marker to make a line around the carton.

Using the scissor or a sharp knife cut around the width of the milk carton.


Turn the top upside down and insert it inside the bottom portion of the milk carton.  Push down on the top piece until its flush with the bottom piece.


Insert a napkin, paper towel or any other (recycled) paper product deep into the carton spout. 

My crazy reason for this is 3 fold.  I wanted to plug the hole so that soil wouldn't fall through while allowing excess water to drain out.  I also felt that paper might wick some of that excess water back into the resevoir to keep the soil and roots moist.  Lastly I feel this method gives the roots a little extra growing room as they travel down the carton.
Fill the pot with soil and plant your favorite herb or vegetable.
Don't forget to mark your containers with the plant name & date.  You think you'll remember but...

Have a happy Spring!

Tuesday, March 20, 2012

My 60 Square Foot Balcony Garden

Our balcony had never looked worse.  It had been neglected for months.

It was an "oh my goodness" moment when I realized what it had become. All the plants were dead and there was so much dust covering everything that I left footprints as I walked across the floor.  This wouldn't do at all.  I'm a passionate gardener with a small yard and I use every square inch of space I have.  Why was I wasting a perfectly good spot?
I decided to do something "frugal" asap.
First things first I washed the balcony down with buckets of water, sweeping it over the edges to water the vegetables in the raised bed directly below.
That done, I started "yard shopping" for pots and plants that were looking for a new home.  It didn't take long to find some useful looking containers, including some great window boxes that my neighbor Lea threw out. 


I used some thinnings from my garden beds to fill 3 pots of lettuce and 2 window boxes of Swiss chard.  


A few tomato and pepper plants that were growing in the wrong place were transplanted to large containers and a couple of volunteers of flat leaf parsley went into small containers to be perched on a ledge.


These Purple celery plants had been waiting to be transplanted for a few weeks.  I'm not sure if they will grow in a container but this has to be better than the tiny pots they were in. 


I moved a few pots of herbs recently purchased from Trader Joe's to their new home, hanging them from the balcony railing with chop sticks and wire twist ties.


This copper container was a perfect spot for a mixture of 4 kinds of basil. 

It's only been a week or so but the first seedlings are poking through.

These "branches" are from a friends fig tree.   She assured me that if I planted them, they will root. 

My fingers are crossed.
I sowed some pots of herbs from seeds I had on hand, covering the tray with a sheet of drycleaning plastic to hold in heat and moisture. 
Lastly I sowed lettuce seeds in the remaining window box. 

Future plans include more herbs hanging off the ledge (I think I have room for 15 more pots) and beans that will grow across the balcony railing. 
I'm so excited about our balcony.  It looks great and provides food.  It doesn't get better than that.  I will be updating pictures as the season progresses.  .
Be well and Happy Gardening!

Sunday, November 6, 2011

Roll Out The Barrel

Recently my friend and neighbor, Lea, had quite a bit of "trash" at the curb.  She was cleaning out her backyard and just as quickly as she was bringing it out I was carrying it home.  There was so much stuff I felt drunk from the excitement of it. I didn't know what I was going to do with all of it but I knew something would come to mind.  I just needed to figure it out before my husband came home from work and saw it all piled up in the driveway looking like a yard sale in progress.

When I saw her rolling out this barrel I knew I had to have it.  My mind went into overdrive, thinking of all the possibilities.  It wasn't in good enough shape for a planter and I'm not handy enough with a hammer and saw to make any big changes.  I considered using it as a pot for growing potatoes, but I've had such dismal luck at producing spuds that I nixed that idea.  The barrel sat in front of the garage for a few months until we got our new puppy.  My neighbor came up with the idea of using the barrel as a dog house. 
We rolled the barrel up against the north side of the house to sheild it from the sun.  2 lemon trees (one on either side) provide some additional protection from the elements. 


The barrel gave her a cool spot out of the summer heat.

.
The barrel continues to keep her happy and comfortable.  The rain is pouring but Maryah doesn't seem to mind.  She pulled out some of the extra blankets and I found her curled up and fast asleep.
The barrel turned out to be a great fit in my "trash to treasure" lifestyle.  It fills a need, cost nothing, came from trash and if our dog decides it's not for her, I can always revisit the potato pot plan.
Be well and happy Autumn gardening!

Tuesday, November 1, 2011

Outsmarting Outdoor Pets

One of my favorite neighbors, Lea, has wonderful "trash".  The bright orange fencing that she left at the curb became a compost bin in my 05/26/11 post.
Recently that same fencing helped us deal with some problems from our new dog and the neighborhood stray's.
My husband spent hours cleaning out a tiered area in our back yard.  I had lots of new growing room and plans for a big row of leafy greens.  I amended the soil and planted the seeds but what I viewed as an edible garden the cats saw as a litter box.   It was a disgusting sight and I had to come up with something fast. 

I layed out the orange fencing, running it the entire length of the tier.
The fencing overhung the edge of the tier so I cut it down about a foot.

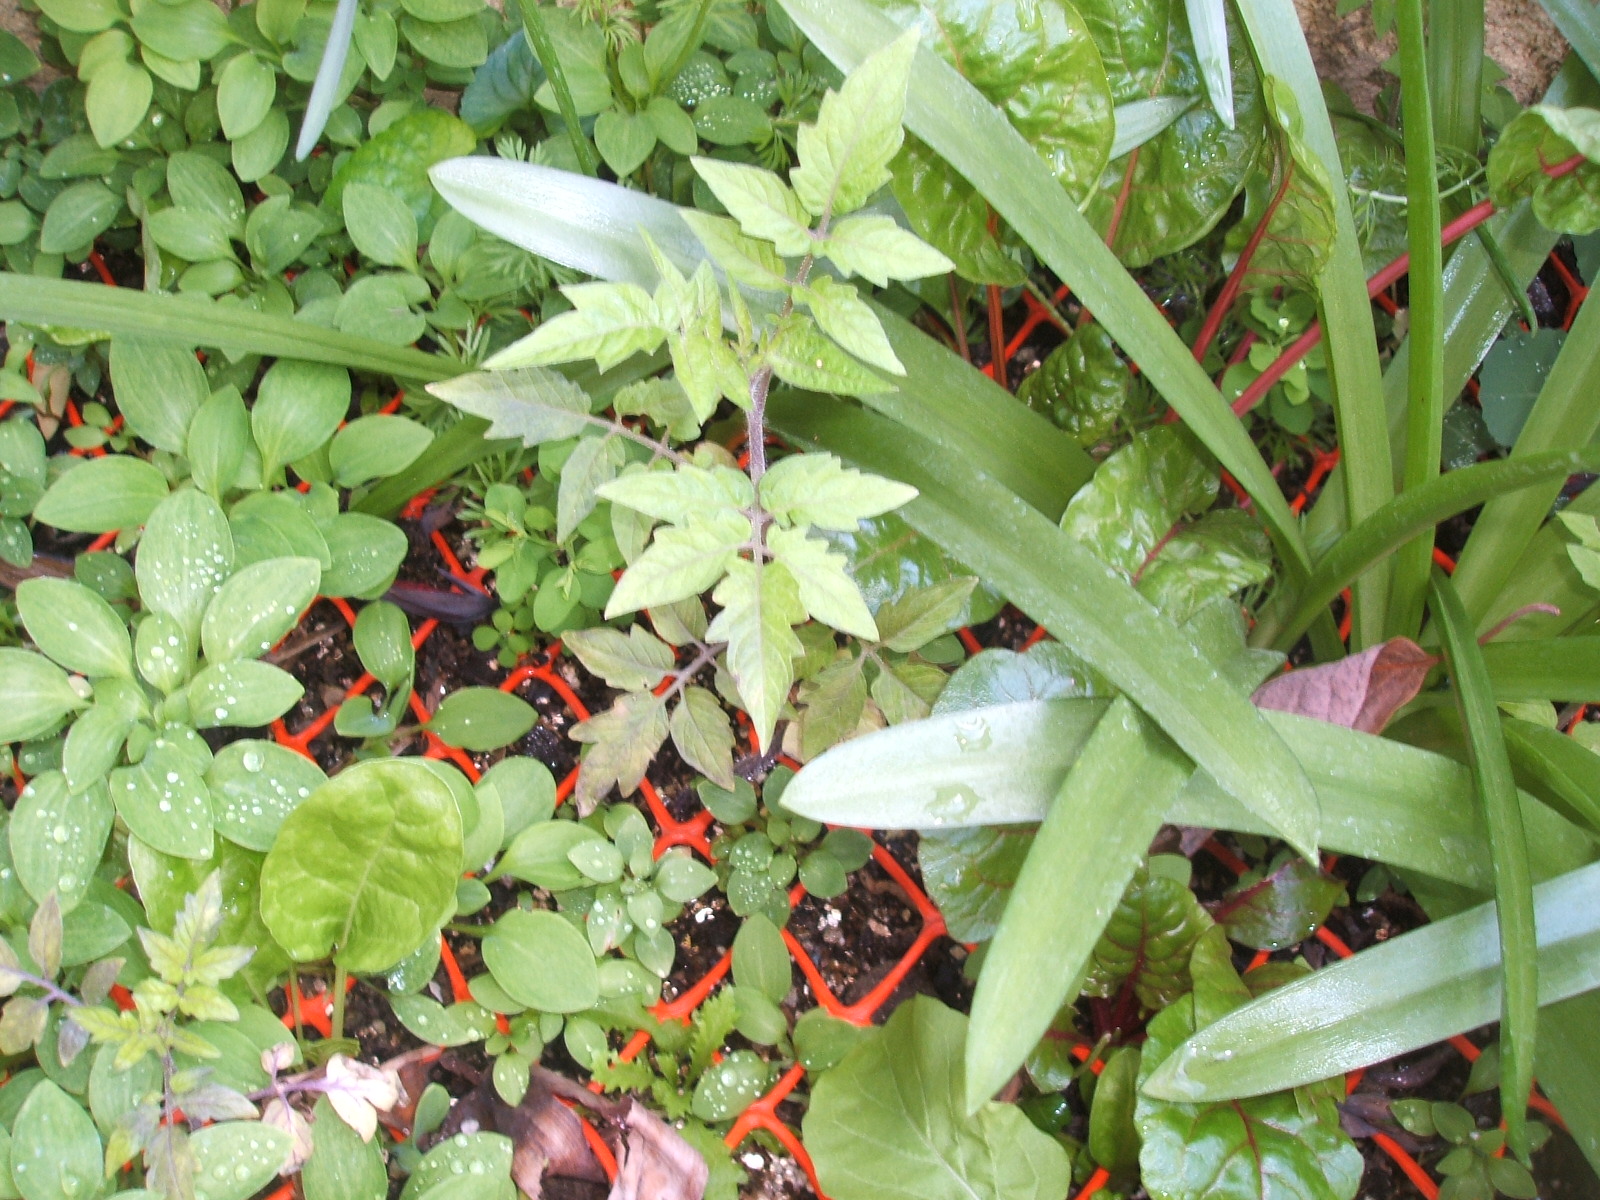
I anchored the fencing in place using the posts of solar lights.  I scattered lettuce, chard and arugula seeds throughout the fencing, covering the seeds with sifted compost and vermiculite.

The bed hasn't been disturbed and the seeds are sprouting between the plastic fencing.  Looks like I will be thinning out in no time.
Our new puppy loves digging in the pots.  Something about the soil seems too enticing to resist.  My husband, worried about the plants (and the dogs well being) made it his job to figure out a way to out smart her. Using the leftover fencing from my kitty control project, he fashioned a grid to cover the top of the soil.

He cut the fencing in half circles, using some pieces of metal to anchor the fencing in place. 

I added a solar light as an additional anchor as well as providing a bit of light and a touch of ambiance.  In the two weeks since we put the fencing down we haven't had any puppy problems and that has us all breathing a bit easier.
Be well and happy frugal gardening!

Monday, October 31, 2011

Last call for our christmas tree

2011 is winding down. I can't believe how quickly the year has flown by.  The Halloween decorations are out, the nights are growing cooler and I'm starting to think about lighting up the fireplace soon.  It must mean our 2010 Christmas tree is ready for it's last job.
After we enjoyed our tree in all it's holiday glory I moved it to a corner of yard, hanging homemade bird feeders from the branches.
Once the tree had spent a few months drying and posing as a perch for our feathered friends I used branches and fallen needles to mulch my blueberry plants.

During the summer the tree turned into a trellis, holding up to the weight of a bumper crop of green beans.  Picking the beans was a breeze.  They were hanging between the branches of the tree.

When the season finished I left the vines hanging on the tree until the pods dried up. I harvested these seeds for planting next summer.
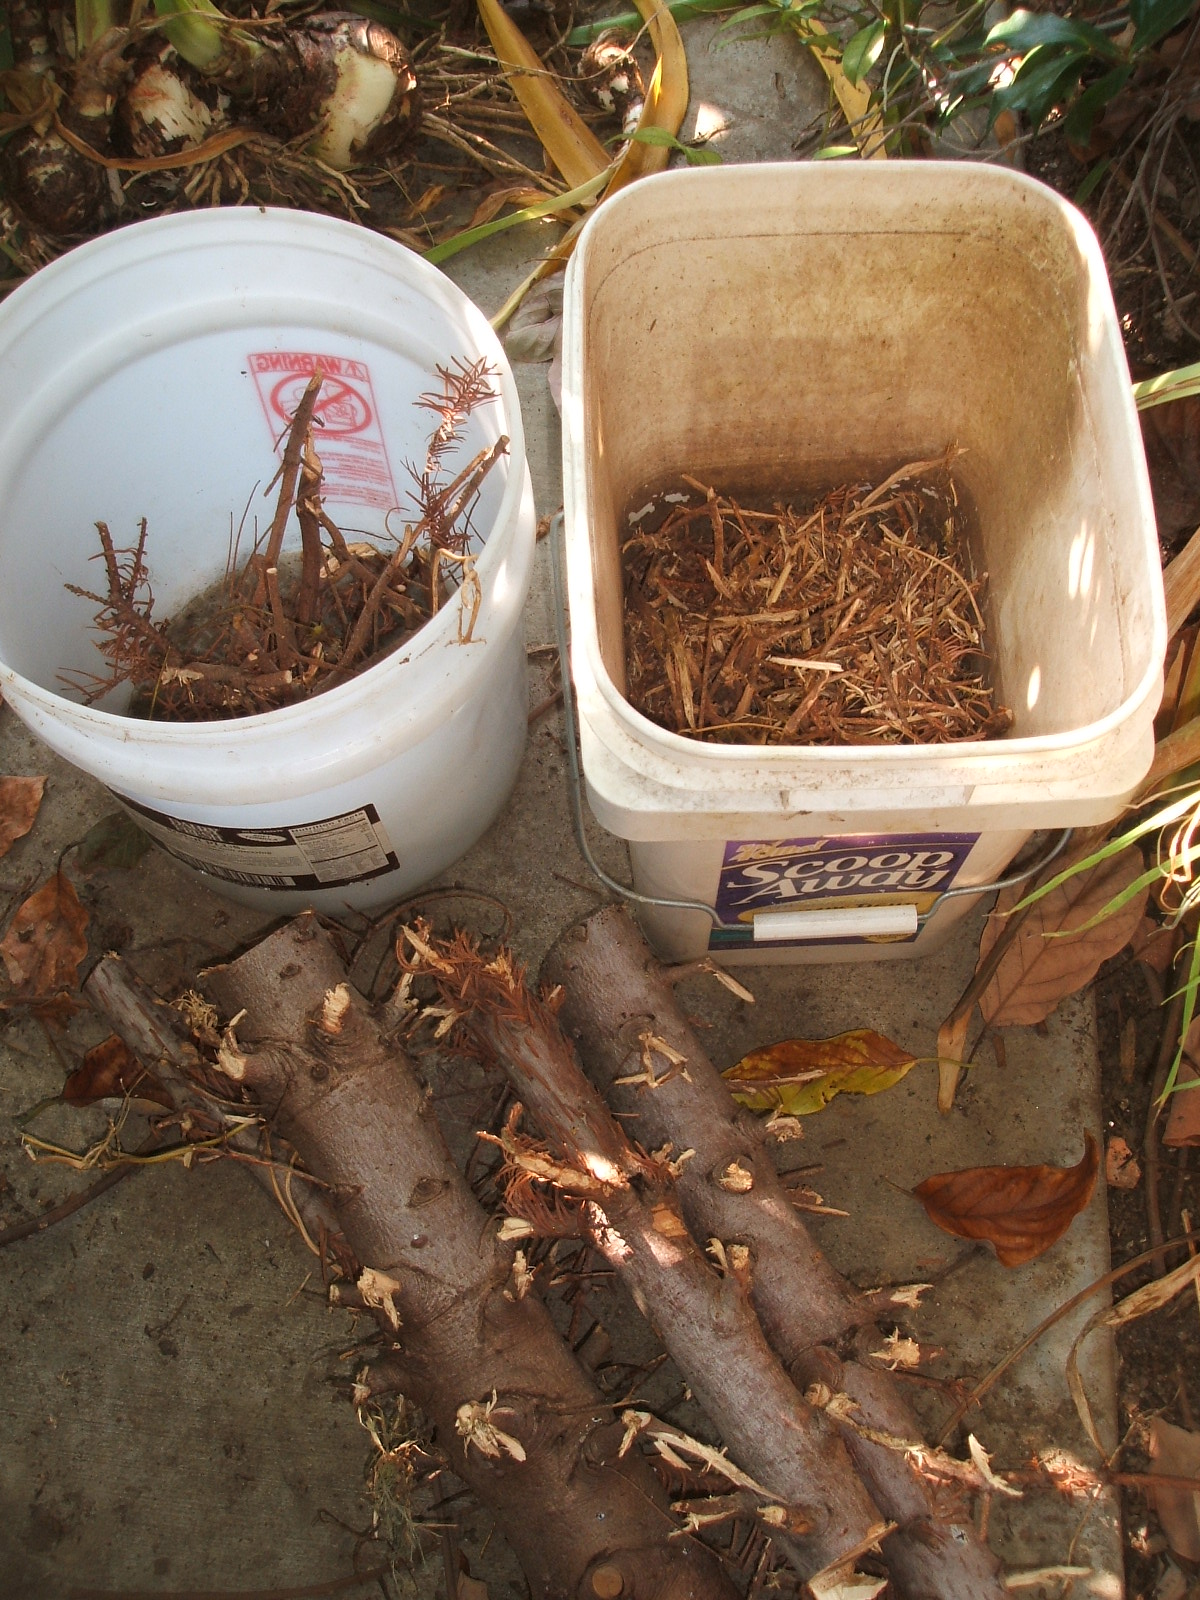
Today my husband (and his chainsaw) made quick work of what remained of the tree.  The last branches were sawed off and the trunk was cut into pieces. 
The thinnest branches went through the mulcher and will be used around the hydrangea plants, thicker branches will be used in the garden or as kindling, and the logs will be burned in the fireplace some chilly evening.
It feels great to find second (and third, fourth and fifth) uses for our tree.  Now thats what I call recycling!
Be well and Happy Halloween!

Friday, September 30, 2011

Feeding Plants with Fountain Water

After a prolonged pause from blogging (but not from frugal gardening) I am finally able to sit down and add a post to frugalgardengirl.  In case your wondering about the lengthly holiday I am proud to announce that I became a grandma in August.  This pretty baby girl is my granddaughter Ayumi. 

When she's visiting I don't get as much done around the house, or in the garden for that matter but I'm pretty sure that the time we spend together is the most important thing that I could be doing.
Cleaning our patio fountain is a chore that needs to be done frequently, especially in the summer months when the warm weather causes the algae and fish poop to turn the pond green. 
Rather than waste this nutrient rich water, I prefer to use it as the a source of liquid fertilizer.
It's easy to use a hose to drain larger ponds and fountains.  I place the end of the hose in the fountain and turn the hose on at the spiget for a few seconds.  After turning off the water, I detach the hose at the spiget, holding the end up until I reach a spot that I want watered.  Then I lay the hose down and gravity does what it does, pulling water out of the fountain and over to my garden.

The water left at the bottom of the pond is emptied bucket by bucket to the potted plants surrounding our patio.  It sounds tedius, and it can be, but it's good exercise for my husband and I.

If you have an aquarium, or your kids have a fish tank, don't waste this wonderful source of food for your garden.
Just to be on the safe side, I don't use this water for leafy greens or root crops.  I do use it on fruit trees, tomatoes, peppers, eggplants and many other bush and vine plants and haven't had any problems.
Any time that I can get a chore to do double duty-in this case cleaning the fountain mixed with watering and fertilizing the plants, I know I've done a great job.
Be well and happy gardening!